
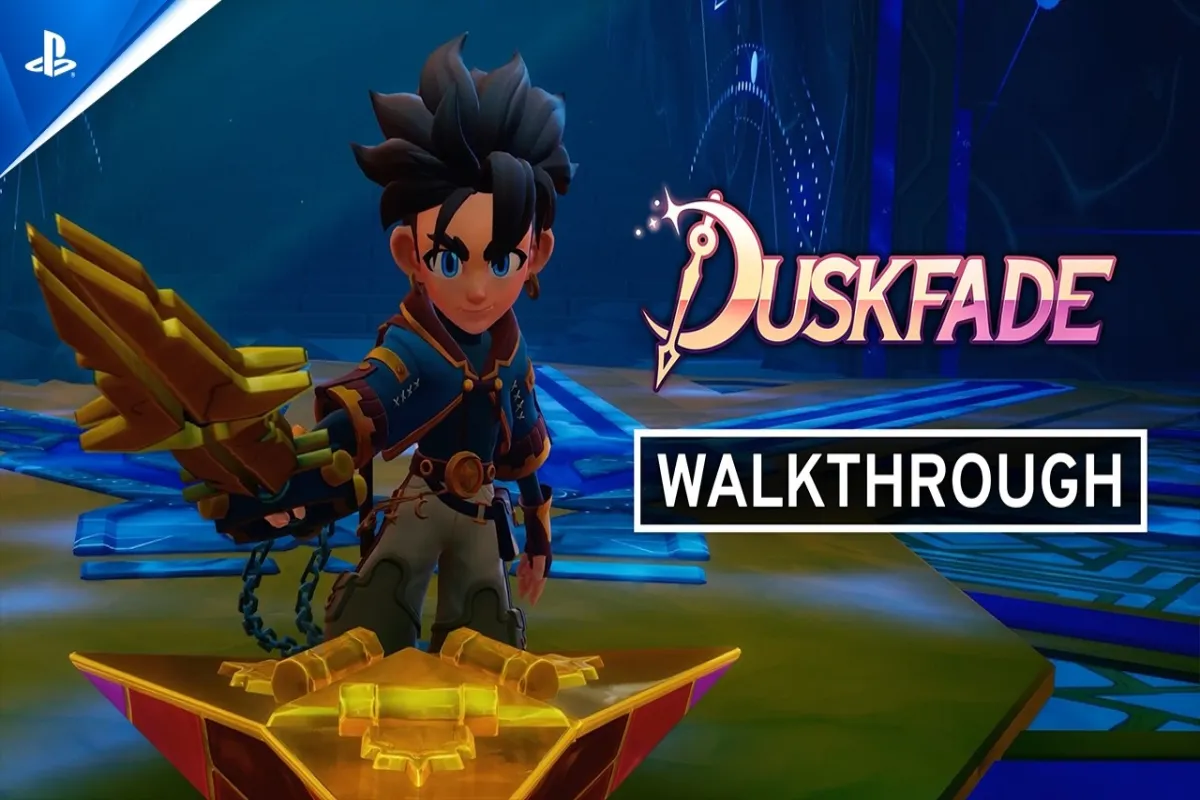
Getting Started in Duskfade
Duskfade drops you into a winding clockwork world where every gear, tick, and shadow hides a piece of a fractured memory. This Duskfade beginner guide walks you through the opening hours, covering the controls, movement basics, and the early combat encounters that catch many first-time players off guard.
The game is an action platformer built around a ticking clock motif. According to the PlayStation Blog announcement, the developer built Duskfade to evoke nostalgic 3D platformers while layering in modern combat, light-and-shadow puzzles, and a hub town called Tick Town where the story breathes between encounters. You play as a small traveler chasing a missing Maker across a landscape of frozen clocks and shifting dusk light, and the Duskfade page on Steam outlines the full feature list and supported platforms.
Because the opening hour is dense with new mechanics, this walkthrough is structured so you can jump straight to whatever you're stuck on. Use the sections below as a roadmap whether you're still learning to jump, struggling with your first real boss, or hunting for missed shards in the Lower Belfry.
Core Mechanics Every New Player Must Master
Before chasing the Maker, you need to get comfortable with three interlocking systems: the responsive movement kit, the dusk-light mechanic, and the parry-focused combat stance. For a deeper breakdown of inputs and key bindings, the Duskfade controls guide covers every button and recommended layout for controller and keyboard players.
Movement and Platforming
Duskfade's movement is the heart of the game, and most beginner deaths actually come from bad footing rather than enemy damage. The full movement toolkit is explored in the Duskfade movement guide, but the essentials every beginner should learn first are listed below.
- Short Hop — tap jump for tight platforms and quick dodges.
- Dash Burst — directional dash that grants invulnerability frames for half a second, perfect for crossing spike corridors.
- Wall Cling — hold into a wall while jumping to slide down slowly, useful for scouting enemy patterns.
- Air Cancel — attack mid-air to briefly stall your jump, which is how you reach the upper rafters of the Clock Tower hub.
Practicing these four moves on the training ledges outside Tick Town is the fastest way to feel in control. Each one is unlocked progressively during the first chapter, so don't worry if Air Cancel isn't available immediately; it shows up after the Lower Belfry checkpoint.
Default Control Mapping
The default bindings work for most newcomers, but a few swaps make the early game much smoother. The table below reflects the out-of-the-box layout reported on the Steam community forum, which is consistent with the Duskfade Demo on Steam.
| Action | Keyboard Default | Controller Default | Beginner Tip |
|---|---|---|---|
| Jump | Space | A / Cross | Tap, don't hold, for Short Hop |
| Dash | Shift + Direction | B / Circle + Stick | Use mid-air for chase sequences |
| Attack | Left Click | X / Square | Light tap chains into heavy |
| Block / Parry | Right Click | L1 / LB | Tap, don't hold, to refund stamina |
| Interact | E | X / Square (context) | Used for braziers and NPC dialogue |
| Map / Pause | Tab | Start / Options | Open from Tick Town only |
The Dusk Light Mechanic
The dusk mechanic is what separates Duskfade from standard action platformers. Light zones are safe; dusk zones drain a hidden timer that, if exhausted, triggers a "Tick Down" and respawns nearby enemies in a tougher form. Beginners should treat dusk pools like lava from other genre classics: avoid standing in them unless a specific puzzle or shortcut requires it. Community testing suggests that the early game keeps dusk areas short on purpose so you can learn the rhythm before longer gauntlets arrive around the second act.
Basic Combat Stance
Combat runs on a stamina ring that empties as you swing, dodge, or block. The opening combo strings together light and heavy attacks into a six-hit sequence that staggers most early enemies, and if you chain a heavy attack after a short dash, you unlock the Ember Strike, which deals bonus damage and briefly restores stamina. Don't ignore blocking — a perfectly timed block opens most regular enemies to a free parry counter that refunds stamina, which is why most boss kills in chapter 1 come from parries rather than raw aggression.
Early Area Walkthrough and Key Items
The first chapter of Duskfade routes you through three environments in roughly this order: Tick Town (hub), the Lower Belfry (tutorial dungeon), and the Clock Tower approach. Below is a quick reference for what to grab and where to look, since several upgrade materials are missable if you skip the optional routes.
Tick Town Hub Essentials
Tick Town functions as your save room, vendor, and fast-travel hub. After the opening cutscene, head to each marked NPC before exploring, because they unlock shortcuts that make later backtracking trivial. The table below summarizes the key stops and what you actually get from each one.
| NPC / Location | What You Get | Why It Matters |
|---|---|---|
| Maker's Bench | Forge upgrades for gear | Lets you spend shards to improve weapons |
| Old Cogsworth | Lore entries and a free Ember Shard | Unlocks codex pages about the Maker |
| Gatekeeper Plinth | Fast-travel activation | Teleports you between unlocked zones |
| Side Alley Chest | 3 Clock Cogs (currency) | Bank early for vendor purchases |
| Rooftop Lookout | Optional vista checkpoint | Grants a small stamina boost once visited |
Lower Belfry Walkthrough
The Lower Belfry is where Duskfade teaches you real combat. Expect three enemy types: Cog Sprite (ranged), Gearling (melee rush), and the larger Brass Bulwark mini-boss near the exit. Use the corridors to bait one enemy at a time, because the room is small and getting surrounded will chew through your health before the first checkpoint. Grab the Ember Shard on the wooden raft above the spawn room; it's required to unlock your first weapon upgrade back in Tick Town, and missing it forces you to replay the dungeon later for the optional breakable wall route.
Clock Tower Approach
The Clock Tower approach introduces vertical platforming and the first real dusk pool. Save your dash for the gap-jump sequences, and light the brazier at the halfway point to temporarily clear the dusk in the upper section. The boss at the end of this stretch, the Crimson Warden, is the first real skill check, and the checkpoint sits right outside the arena so dying costs you nothing but pride.
Combat Strategies for Your First Encounters
Combat in Duskfade rewards patience over button mashing, especially against the early bosses. Below are the patterns most new players miss and the counters that turn fights around, along with a phase-by-phase breakdown of the chapter's signature duel.
Reading Enemy Telegraphs
Every enemy in the first chapter telegraphs its strongest attack with a brief glow. The Cog Sprite flashes blue before firing a burst shot, while the Gearling raises one shoulder before lunging. When you see the flash, your best response is almost always a sideways dash, not a block — block works, but it consumes stamina you'll want for the counterattack. Learning these tells is the single biggest upgrade any beginner can make during the opening hours.
First Boss: Crimson Warden
| Phase | Warden Behavior | Recommended Counter |
|---|---|---|
| Phase 1 (100–60% HP) | Three-hit sword combo ending in a slam | Block the combo, dash through the slam, punish with 2 light attacks |
| Phase 2 (60–30% HP) | Adds a dusk-burst projectile every 2nd cycle | Sidestep the burst, stay mid-range for openings |
| Phase 3 (30–0% HP) | Enrages; combos become 5 hits with faster speed | Bait the combo, punish only after the final swing |
The Warden drops the Warden's Edge, a mid-weight sword that becomes your default for the rest of the first act. Don't skip upgrading it at the Maker's Bench, because the next boss, the Hollow Sentinel, hits noticeably harder than the Warden and punishes players who reach it with an unmodified weapon.
Stamina Management Tips
Stamina governs everything offensive in the game, which is why most failed runs come down to running out of it mid-fight. Three habits solve this for beginners: don't combo into empty air, parry instead of holding block, and rest at braziers whenever you spot one. For more advanced combos and stance breaks, the Duskfade combat guide goes into enemy-specific punishes and stance-break windows that open up once you have the Warden's Edge upgraded.
Progression Tips and Common Beginner Mistakes
The first chapter looks short, but it has more missable content than most players realize. Below is a priority checklist for your first two hours, plus the pitfalls most beginners fall into when they rush toward the Clock Tower summit without exploring.
Resource Priority in the Opening Hours
Spending your early currency in the wrong order is the single biggest mistake new players make. The table below reflects the priority order reported by experienced players on Reddit and Discord threads, which lines up with how the game gates its upgrade recipes.
| Resource | Best Use Early | Priority |
|---|---|---|
| Clock Cogs | Vendor: 5 → extra health flask | High |
| Ember Shards | Upgrade Warden's Edge to +1 | High |
| Gear Tokens | Save 8 → unlock Side Alley vendor | Medium |
| Lore Pages | Trade 4 → Old Cogsworth side quest | Low (but free stamina bonus) |
Common Mistakes to Avoid
- Skipping the rooftop lookout. It's optional, but missing it delays a small stamina upgrade that compounds over the next boss fight.
- Spending shards on cosmetics. Shards are scarce in chapter 1; spend them only on the Warden's Edge upgrade until you've cleared the Hollow Sentinel.
- Ignoring dusk zones. Walking through dusk drains your hidden timer, and a Tick Down respawns enemies plus breaks your combo streak.
- Forgetting to save. Tick Town is the only manual save spot for the first hour, so visit it after every boss even if it means backtracking through a short corridor.
When to Try the Demo First
If you want a low-pressure way to confirm whether Duskfade fits your playstyle, the demo covers the Lower Belfry and the first Warden fight without spoiling later chapters. It's the same build used for the review copies handed out ahead of launch, and it lets you sample the controls on your exact hardware before committing to the full purchase. Pairing the demo with this Duskfade beginner walkthrough gives you a complete picture of how the systems interlock before you commit several hours to the full game.
Frequently Asked Questions
How long is the Duskfade beginner section?
The opening chapter runs roughly three to four hours for a first-time player, including exploration and most side content. According to community timing data on Steam, returning players can clear the same section in under 90 minutes once they know the routes.
What is the best starting weapon in Duskfade?
The Warden's Edge earned from the Crimson Warden fight is the strongest early-game weapon. It balances swing speed, reach, and stamina cost better than any of the starting alternatives, and it scales smoothly through the first act.
Can I change the difficulty after starting a Duskfade walkthrough?
Yes. Difficulty can be toggled from the pause menu at any time, and there's no achievement penalty for lowering it. Many players report dropping the difficulty for the Hollow Sentinel fight, then raising it again afterward.
Where do I find Ember Shards in chapter 1?
There are five Ember Shards in chapter 1: one in Tick Town's side alley, one on the Lower Belfry raft, two in the Clock Tower approach (one above the brazier, one behind the breakable wall), and one dropped by the Crimson Warden. Missing any of these delays your first weapon upgrade.
Is Duskfade beginner-friendly for players new to action platformers?
Yes. The opening section deliberately teaches movement, combat, and the dusk mechanic one at a time, and the difficulty curve from the Warden to the Hollow Sentinel is gentler than most genre peers. Pairing this Duskfade walkthrough with the demo is the smoothest entry point if you're still unsure whether the game is for you.
What's the trickiest part of your opening hours been — the Warden's combos, the dusk pools, or just remembering to backtrack to Tick Town between bosses? Drop a comment with the spot you got stuck on and we'll help you build a route through it.