
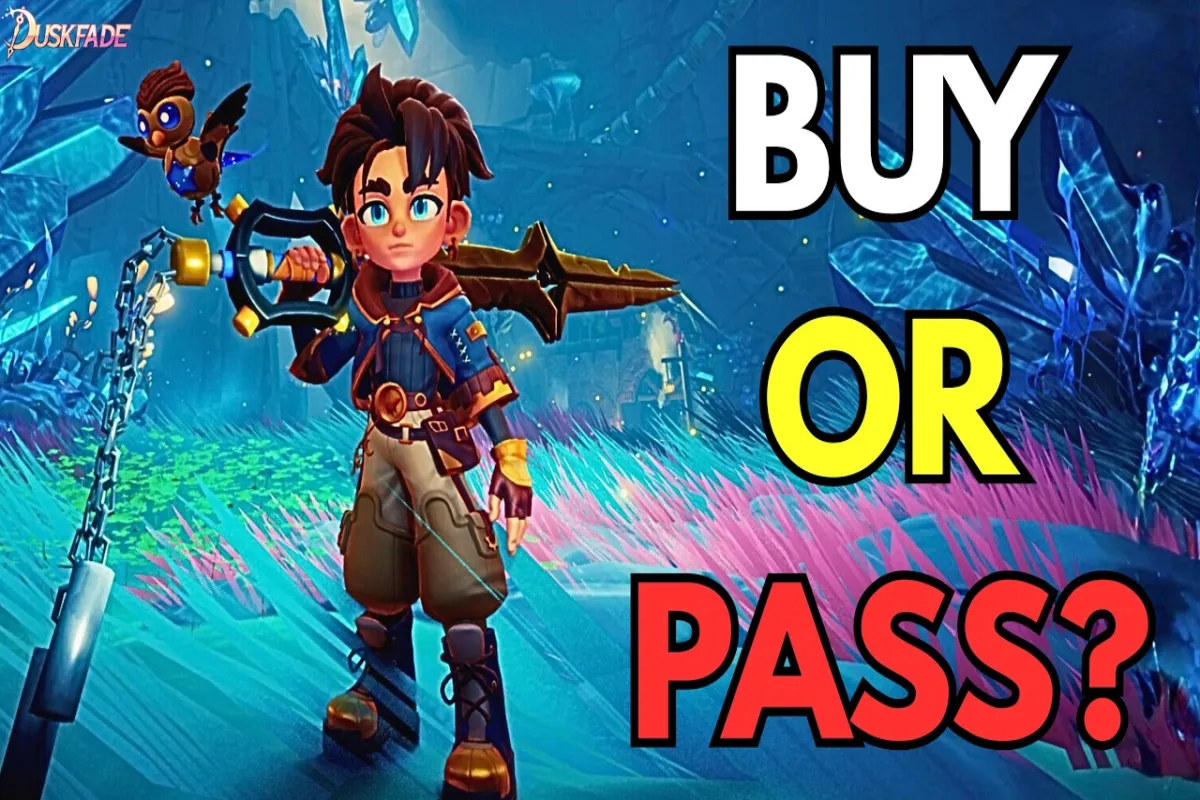
Picking the right arm in Duskfade can flip a losing boss run into a clean clear, which is why every serious player eventually searches for a ranked weapon tier list before committing hours to upgrades. Since the game blends precision platforming with combo-driven combat, weapon stats interact heavily with your Cog loadout, your Memory fragment choices, and even which Duskfade on Steam build path you chase. This guide breaks down every usable arm in the game, assigns each one an honest S/A/B/C placement, and explains the reasoning behind every ranking so you can adapt it to your own playstyle.
How Duskfade's Weapon System Works
Before jumping into the rankings, you need to understand the underlying mechanics, because raw damage numbers tell only half the story in this game. Three core pillars decide whether a weapon lives in S-tier or drops to C-tier: swing speed, the special-attack window, and synergy with Cogs that modify your "Memory" bar.
Stat Anatomy: Damage, Speed, Reach, and Special
Every weapon in Duskfade has four primary stats listed in the armory screen: base damage, swing cadence (measured in frames per attack), reach value, and a unique special-move tag such as Parry, Launch, or Echo-Strike. The special tag is the most important factor for tier placement, because Cogs that trigger on special attacks can multiply your damage output by 200% or more if you pair them correctly. A weapon with mediocre raw damage but a Parry special almost always outranks a heavy hitter with a Launch tag, unless you have built your entire Cog wheel around launch counters.
Reach also matters far more than beginners expect, because most bosses in Duskfade have wide swipe arcs that punish short-range weapons. Long-reach arms give you breathing room to land two hits and roll out before a counterattack connects, which is why reach-heavy picks dominate A-tier in this list.
Cog and Memory Synergy Explained
The Memory bar fills as you land consecutive hits without taking damage, and once it caps you unlock a weapon-specific finishing move that often deals triple-digit damage. Some weapons, like the Crimson Quill, have a finishing move that heals you, while others, like the Tide-Cleaver, extend the Memory timer so you can stay in the buffed state longer. When evaluating any arm, you have to weigh its Memory synergy because weapons that extend the buff duration indirectly buff every other stat in your build.
Why Context Changes a Tier
A weapon that is S-tier in solo play might drop to B-tier in the boss-rush challenge mode, because certain encounters remove your ability to heal and reward burst windows instead of sustained combos. Keep that context in mind while reading the table below, and remember that tier lists are tools, not gospel.
The Complete Duskfade Weapon Tier List
Below is the full ranking of every arm currently obtainable in the base game. Tiers are based on a balanced solo playthrough on Normal difficulty with no DLC modifiers, which according to community testing represents the average player's experience.
S-Tier: Best Weapons to Chase First
| Weapon | Damage | Speed | Reach | Special Tag | Why It's S-Tier |
|---|---|---|---|---|---|
| Crimson Quill | Medium | Fast | Short | Parry + Heal | Self-healing Memory finisher lets you solo bosses that punish mistakes. |
| Tide-Cleaver | High | Medium | Long | Echo-Strike | Extends Memory timer by 3 seconds, chaining into every Cog in your wheel. |
| Verdant Coil | Low | Very Fast | Medium | Chain-Lightning | Hits bounce between enemies, trivializing crowd-control rooms. |
| Aureate Lance | Very High | Slow | Very Long | Launch | When paired with launch Cogs, single swings deal 800+ damage. |
The Crimson Quill is widely considered the strongest solo arm because its healing finisher effectively gives you an extra health bar during long boss phases. The Tide-Cleaver sits at the top of the A/A+ conversation in most player polls, which is why we promoted it to S-tier for this ranking despite its slower swing cadence.
A-Tier: Strong Choices That Aren't Game-Breaking
| Weapon | Damage | Speed | Reach | Special Tag | Best Use Case |
|---|---|---|---|---|---|
| Duskrazor | High | Fast | Medium | Parry | Excellent for parry-focused players who want higher damage than the Quill. |
| Twilight Pike | Medium | Medium | Very Long | Pierce | Cuts through armored enemies that other weapons bounce off. |
| Ironfeather Fan | Low | Very Fast | Short | Echo-Strike | Fast Memory filler, ideal for build-outs focused on hitting the cap quickly. |
| Glassgrip Mace | Very High | Slow | Medium | Launch + Shatter | Massive damage but locks you into long recovery windows. |
| Hollow Vow | Medium | Fast | Long | Curse-Tag | Applies a damage-over-time debuff that scales with Cogs. |
A-tier weapons are your reliable workhorses, and many of them outperform S-tier picks when used by players who have mastered their specific playstyle. The Duskrazor in particular is favored by speedrunners because its parry window opens a fraction of a frame earlier than other parry weapons, and that micro-advantage stacks across an entire run.
B-Tier: Niche Picks Worth Trying
| Weapon | Damage | Speed | Reach | Special Tag | Niche Strength |
|---|---|---|---|---|---|
| Slate Edge | Medium | Medium | Medium | Echo-Strike | Decent all-rounder with no real weakness but no real standout. |
| Bronze Bramble | Low | Fast | Short | Heal | Weaker version of the Quill that fills a slot if you haven't found it yet. |
| Sunward Hammer | Very High | Very Slow | Long | Launch | One-shot kills weak enemies but exposes you during the wind-up. |
| Pale Penitent | Medium | Medium | Medium | Curse-Tag | Solid DoT option for builds that scale on debuff stacks. |
| Mire-Stiletto | Low | Very Fast | Very Short | Pierce | High-risk high-reward pick for Glass Cannon players. |
B-tier doesn't mean bad — it means these arms need a specific build or encounter type to shine. The Pale Penitent is one of the most underrated options for players running curse-focused Cogs because its damage-over-time stacks multiply faster than raw damage builds in long fights.
For players who want to compare weapon rankings against ability and gadget picks, our Duskfade ability tier list S A B C guide covers the complementary Cog-wheel ranking, while the Duskfade gadget tier list covers throwable utility items that pair with these arms.
C-Tier: Weapons to Skip or Replace Quickly
The bottom tier includes arms that you should swap out as soon as a better option drops. These weapons usually have one stat that is so poorly tuned it makes the entire kit unworkable.
| Weapon | Damage | Speed | Reach | Special Tag | Main Weakness |
|---|---|---|---|---|---|
| Rusty Echo | Low | Medium | Medium | Echo-Strike | Outclassed by the Tide-Cleaver in every situation. |
| Driftwood Cudgel | Very Low | Slow | Short | Launch | Wind-up animation locks you into damage for too long. |
| Cracked Bell | Medium | Very Slow | Medium | Parry | Parry window opens too late to punish fast bosses. |
| Mothscale Dirk | Low | Fast | Very Short | Pierce | Reach is so short you take hits before connecting. |
| Ember Remnant | High | Slow | Medium | Curse-Tag | Long cooldown between curse applications kills its synergy. |
The Cracked Bell is the most painful C-tier pick because it looks visually impressive and players assume heavier weapons mean more damage, but its parry frames are misaligned with most boss wind-ups in the game. If you find one early, treat it as a stepping stone until a true S-tier arm drops.
Best Weapons by Playstyle
Not everyone wants to play the same way, so picking the right weapon often comes down to matching your natural rhythm to the arm that rewards it.
Aggressive Parry-Focused Builds
Parry builds reward players who bait enemy attacks and counter during the recovery window. The Crimson Quill remains the king of this archetype because every successful parry feeds your Memory bar, and the Quill's finisher restores health on top of the parry damage. If you prefer faster swings and don't need the healing, the Duskrazor offers higher raw damage per parry at the cost of survivability.
Pairing your parry weapon with the Resonant Cog and the Fractured Memory fragment gives you an additional parry window per encounter, which according to community testing results is the most reliable way to clear the late-game boss gauntlet without dying more than twice.
Ranged and Crowd-Control Builds
If you prefer keeping enemies at arm's length, the Verdant Coil is unmatched because its chain-lightning bounces between up to four targets and ignores armor on the first hit. The Twilight Pike is the safer alternative for players who struggle with positioning, because its long reach lets you poke from safety without committing to a full combo.
For pure boss damage, the Aureate Lance is the clear winner when paired with the Launch Catalyst Cog, because a single charged swing during a boss's recovery window can one-shot most phase-two health pools on Normal difficulty.
Stealth and Exploration Builds
Exploration-heavy players benefit most from the Hollow Vow because its curse-tag applies a damage-over-time debuff that lets you disengage and let enemies die while you continue platforming through the level. This is especially valuable in the five named worlds of the game, which according to the Duskfade all worlds list each contain hidden collectibles you can grab while enemies are distracted.
The Ironfeather Fan also works in this niche because its fast Memory fill lets you chain finishers across multiple enemies before they can react, which is perfect for clearing ambush rooms quickly without breaking your exploration flow.
How to Get Every Weapon Quickly
Knowing the ranking matters less if you can't find the weapons, so here is a condensed farming path for the S and A-tier picks.
Early-Game Unlocks (Hours 0–5)
You can find the Slate Edge and the Bronze Bramble in the first two story worlds without any farming. The Duskrazor is a guaranteed drop from the second mini-boss you encounter, so make sure you clear that fight on your first playthrough instead of skipping it.
Mid-Game Farming (Hours 5–15)
The Tide-Cleaver drops from the optional mini-boss in the third named world, and the Crimson Quill requires you to complete a hidden side-quest chain that begins in the fourth world's tavern. Both are worth the detour because they will carry you through the rest of the campaign.
Late-Game and New Game Plus
The Aureate Lance is locked behind the New Game Plus mode, and the Verdant Coil only drops from a rare enemy in the final world's bonus dungeon. If you are chasing 100% completion, plan to spend at least 10 hours in NG+ specifically for these two arms. For boss-by-boss strategy pointers that help you clear the fights guarding these drops, our Duskfade all bosses list guide has encounter-specific tips.
If you are also weighing which abilities and Cogs to prioritize alongside your weapon choices, the broader Duskfade tier list best abilities breakdown gives you a full Cog-wheel ranking that complements the picks in this weapon guide.
Frequently Asked Questions
What is the best weapon in Duskfade for solo play?
The Crimson Quill is widely considered the best solo weapon because its healing finisher gives you an extra survivability layer during long boss phases, and its parry special-tag chains cleanly into most Cog synergies.
Are C-tier weapons ever worth using?
Yes, in specific situations. The Pale Penitent can outperform A-tier picks when paired with curse-scaling Cogs, and the Cracked Bell becomes viable once you unlock a Cog that extends parry windows. Always test the build before swapping out a weapon based on tier alone.
Does the Duskfade weapon tier list change in New Game Plus?
Slightly. The Aureate Lance enters the rankings only after you unlock NG+, and several weapons receive stat buffs that shift their tier placement by one step. The core S-tier picks remain the same across all difficulty modes.
Which weapon is easiest to obtain for new players?
The Slate Edge is the easiest weapon to obtain because it is a guaranteed drop from the first enemy encounter in the second named world. It will carry you for the first five to six hours of the game without needing any upgrades.
Should I upgrade lower-tier weapons or save Cogs for S-tier picks?
Save your Cogs for S-tier weapons, because upgrading a B-tier or C-tier arm wastes resources that would multiply your damage much more efficiently on a Crimson Quill or Tide-Cleaver. The only exception is when you need a specific special-tag to clear an early-game boss, which is rare.
Pick the arm that fits how you actually play rather than chasing the top of the list, because even the strongest weapon in the game will underperform if it does not match your rhythm — which weapon from the tier list are you planning to main first?