
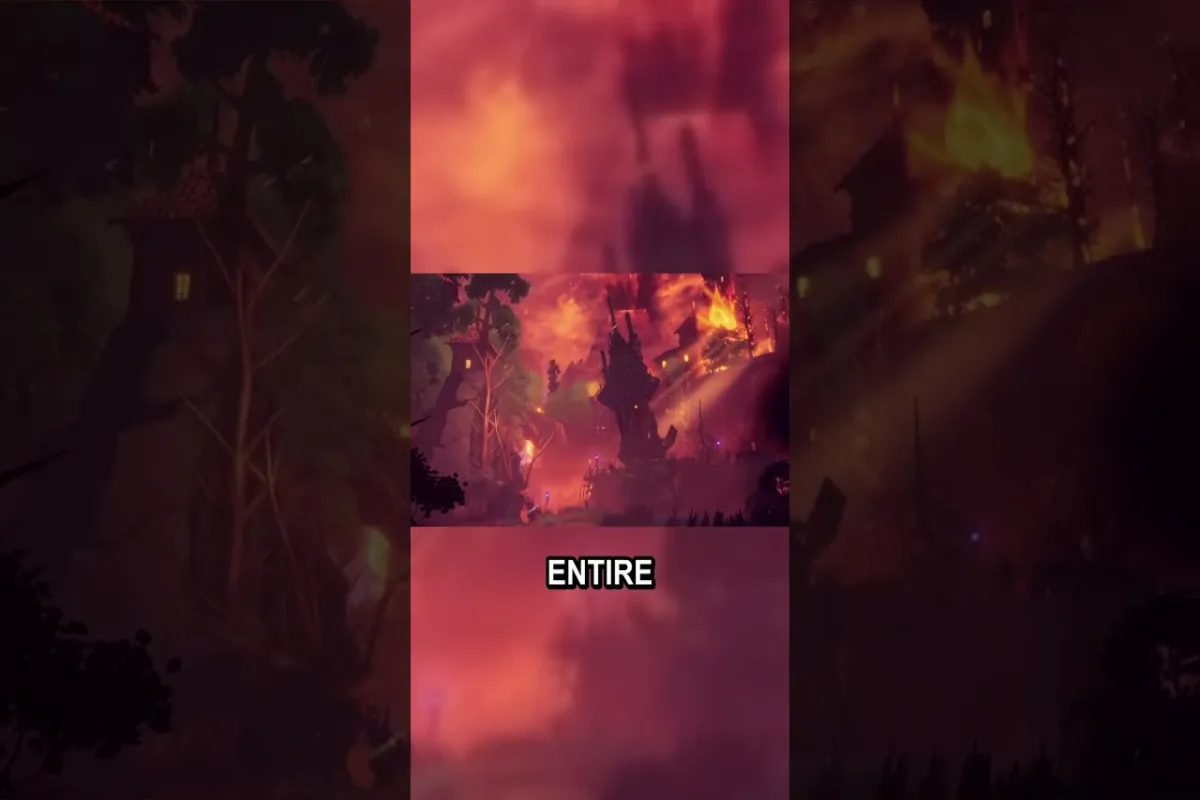
Guayota stands as one of the most memorable encounters in Duskfade, drawing directly from Guanche mythology where the figure represents a fire deity tied to Tenerife's Mount Teide. In any Duskfade how to beat Guayota run, you'll face a multi-phase volcanic boss whose arena shifts from a crumbling caldera to a molten core, with the fight testing three core skills the rest of the game drills into you: precise parry timing, vertical platforming during scripted eruptions, and resource management across an extended encounter.
Players who cleared the how to beat Wrath walkthrough will recognize the parry-first design language, but Guayota layers in a ground-versus-air component that punishes players who relied on pure melee timing in earlier fights. The encounter scales noticeably across the four difficulty modes — Explorer, Adventurer, Master Clockmaker, and the unlockable fourth tier — which means a clean Adventurer strategy does not always transfer cleanly upward. The boss also ties into Duskfade's broader Spanish cultural influences, which the team at Creative Bloq explored in their behind-the-scenes feature on Spanish culture and UE5 art direction. If you've already practiced the fundamentals in the Duskfade combat basics guide, this boss rewards that muscle memory heavily during the final phase.
Guayota Attack Patterns and Phases
The Guayota encounter is built around three explicit phases, each gated by a visible health threshold. Each phase introduces new telegraphs and removes at least one of your safer options from the previous round. Understanding phase transitions matters more than raw damage output, because the arena physically changes mid-fight and old safe spots become lava.
Phase 1 — Caldera Opening
Guayota begins the fight at the northern edge of a circular arena, suspended above a slowly churning lava pool. During this phase, the boss cycles through three attacks: a horizontal sweep with a flaming torch arm, a delayed overhead slam, and a short-range burst of ember projectiles. The sweep has roughly a 1.2-second recovery, which gives you enough time for a single Heavy Strike punish if you parried cleanly. The overhead slam telegraphs for a full second with both arms raised, while ember bursts come in three waves separated by ~0.4 seconds each.
| Phase 1 Attack | Telegraph Window | Recovery After Parry | Punish Window |
|---|---|---|---|
| Flaming Sweep | Arm glows orange ~0.6s | 1.2s | Two-hit Heavy Strike combo |
| Overhead Slam | Both arms raise ~1.0s | 0.9s | Jump + aerial Light Combo |
| Ember Burst | Chest pulses red | 0.4s between waves | Side-step and punish the third wave |
Phase 2 — Eruption Phase
Once Guayota drops below 60% health, the floor breaks open and the arena lowers into a deeper magma chamber. New attacks include a rolling lava boulder that travels arena-wide, plus a series of erupting geysers that spawn at random tiles. The boulder deals heavy damage on contact but can be parried back like any standard projectile — doing so staggers Guayota for roughly 2 seconds, which becomes your main damage window in this phase. Geysers telegraph with a glowing orange ring for ~1.5 seconds before erupting, giving you time to dash away. Players who skip the Duskfade how to find all gears walkthrough before this fight will notice the missing mobility upgrade immediately, since gear fragments extend your mid-air dash and make geyser dodging significantly easier.
Phase 3 — Core Exposure
At roughly 25% health, Guayota retreats into the background and the volcano itself becomes the threat. Mechanical gears embedded in the walls begin rotating, and you must platform between them while dodging falling magma chunks. The boss re-emerges periodically for a vulnerability window that lasts about 4 seconds — your only chance to deal meaningful damage before the cycle repeats. This phase rewards players who collected extra Lunar Shards and Sun Stones along the route, since both upgrade your healing and damage passively. Falling magma chunks home in on stationary targets, so staying on the rotating gears is mandatory rather than optional.
Recommended Gear and Loadout for Guayota
The right loadout turns Guayota from a near-impossible wall into a learnable encounter. Because the fight blends ground combat with vertical platforming, you want gear that supports both mobility and burst damage during the short punish windows. Most Duskfade how to beat Guayota failures trace back to a poorly optimized loadout rather than mechanical mistakes, so this section is worth reading carefully.
| Loadout Slot | Recommended Pick | Why It Works |
|---|---|---|
| Primary Weapon | Molten Edge | Bonus damage against fire-type bosses during Phase 2 boulder parries |
| Secondary | Cinder Dagger | Fast swing speed fits the 0.8s punish windows after a clean parry |
| Charm | Lava Walker's Charm | Reduces lava pool tick damage by 60%, critical for Phase 3 survivability |
| Trinket | Solar Lens Trinket | +15% fire resistance; built from Sun Stone collectibles found in Volcanic Ridge |
| Healing | Twin Moons Vials | Doubles healing potency if you've collected 10+ Lunar Shards |
| Mobility | Ember Step Charm | Adds one extra mid-air dash for Phase 3 gear rotation |
Charm selection depends on your difficulty tier. On Explorer and Adventurer, Lava Walker's Charm is effectively mandatory because the lava pool damage scales harshly on Master Clockmaker. On the unlockable fourth difficulty, the charm becomes a survival crutch that experienced players eventually outgrow once they internalize the eruption timing. If you're still tracking down collectibles, the Duskfade gears location guide walks through every gear fragment that powers the Solar Lens Trinket upgrade path, and gear fragments found in Volcanic Ridge specifically extend your mid-air dash window by ~0.2 seconds — enough to skip one geyser per cycle.
Step-by-Step Strategy to Beat Guayota
This is the core Duskfade how to beat Guayota playbook, broken into the three phases with a short opening checklist you should run before engaging the boss. Each subsection assumes Adventurer difficulty unless noted otherwise; Master Clockmaker timing windows are roughly 15% tighter across the board.
Pre-Fight Checklist
Before you step into the boss fog, confirm the following loadout and resource baseline:
- At least 4 Twin Moons Vials stocked in your inventory
- Lava Walker's Charm equipped in your charm slot
- Primary weapon upgraded to at least tier 3 at the blacksmith
- Both parry and aerial dash bound to comfortable inputs
- Difficulty setting reviewed — Master Clockmaker punishes mistakes far more harshly than Adventurer
- Volcanic Ridge fully cleared for the Solar Lens Trinket recipe
Opening Phase Tactics
Start the encounter by stepping into Guayota's left side to bait the Flaming Sweep. Parry on the orange arm glow, then immediately punish with two Heavy Strike hits before backing away. Never greedy-chain a third hit during Phase 1 — the Overhead Slam follows within roughly 3 seconds of every sweep, and getting clipped means losing 30% or more of your health on Master Clockmaker. Save your dash for the Ember Burst; sidestep twice to the left, then punish the third wave with a full Light Combo chain into a backward jump. The full opening cycle takes about 12 seconds, so you should be able to land two punish windows before Phase 1 ends.
Mid-Fight Transitions
When you see Guayota roar and slam both fists into the ground — the Phase 2 transition cue — immediately jump to the nearest elevated platform. The boulder attack begins 2 seconds after the transition, and being grounded when it rolls means certain death. Parrying the boulder back is the highest-value action in the entire fight: a successful parry grants a 2-second stagger plus a free charged Heavy Strike that chunks roughly 12% of the boss's total health. Aim for two successful boulder parries per Phase 2 cycle to keep pace. Geyser dodging is reactive rather than predictive — once you see the orange ring appear beneath your feet, dash in any direction and punish only after the eruption finishes.
Final Phase Execution
Phase 3 changes the entire fight. Stop thinking like a melee fighter and start thinking like a platformer. Hop between the rotating wall gears, wait for Guayota to re-emerge at the central pillar, and unload your strongest aerial combo during the 4-second vulnerability window. If you run low on healing, the corner alcoves contain a single Twin Moons Vial respawn — but the respawn timer is 30 seconds, so don't panic-spam pickups. Falling magma chunks home in on stationary targets, so keeping a constant micro-movement between gear rotations prevents most chunk damage.
The encounter typically ends in 5-7 minutes on Adventurer and 8-12 minutes on Master Clockmaker. Players who skip Lunar Shards along the route will find themselves stuck in a war of attrition during Phase 3 because the boss's magma chunks out-scale your base healing output. You can review the official Steam store page for system requirements and difficulty descriptions that frame how the encounter scales across hardware tiers.
Common Mistakes When Fighting Guayota
Even experienced players repeat the same handful of errors against this boss. Here's what to avoid when working through a Duskfade how to beat Guayota attempt, with the underlying reasoning behind each mistake.
| Mistake | Why It Fails | Better Approach |
|---|---|---|
| Greedy combo chaining in Phase 1 | Overhead Slam follows every sweep; third-hit lock-in eats the slam | Two-hit punish max, then back off |
| Ignoring the Phase 2 boulder | The boulder isn't just damage — it's your best stagger tool | Parry it back every cycle |
| Standing flat-footed in Phase 3 | Falling magma chunks home in on stationary targets | Stay on rotating gears; never stay grounded |
| Skipping Sun Stone collectibles | Missing the +15% fire resist trinket makes lava ticks lethal | Clear Volcanic Ridge before engaging the boss |
| Saving all vials for Phase 3 | Phase 2 boulder contact damage can one-shot on Master Clockmaker | Burn vials reactively, not proactively |
| Learning the fight on Explorer | Lower difficulty teaches bad punish timing habits that break on harder modes | Learn on Adventurer to build transferable muscle memory |
The most common Duskfade how to beat Guayota failure point is actually Phase 3, not Phase 2 as many forum posts suggest. Players who brute-force Phase 2 by dodging the boulder instead of parrying it back never build the stagger rhythm that Phase 3 demands, so they enter the final phase without enough damage banked and run out of healing before the boss enrages. A second-tier mistake is treating ember projectiles as a sidestep attack — on Master Clockmaker the third wave homes slightly, so you actually need to jump rather than sidestep to avoid it cleanly.
Frequently Asked Questions
What level should I be before fighting Guayota?
There are no explicit level numbers in Duskfade, but the community-recommended benchmark is fully upgrading your primary weapon to tier 3, collecting at least 10 Lunar Shards, and clearing the Volcanic Ridge gear set. Players who attempt the boss earlier than this point report dying in Phase 2 from one-shot boulder contact damage on Master Clockmaker.
Does Guayota get easier on lower difficulty modes?
Yes, but only partially. Explorer mode reduces boss damage and lava tick rate by roughly 40%, which makes Phase 3 survivable even without the Lava Walker's Charm. However, the timing windows for parries and punish combos remain identical across all four difficulty tiers, so the mechanical learning curve doesn't actually flatten. Use Explorer to learn the arena layout, then re-fight on Adventurer to build real muscle memory.
Can I skip Guayota and progress the story?
No, Guayota is a mandatory story boss. The encounter gates the Volcanic Crater chapter transition, and you cannot access the Clockwork City hub or the Master Clockmaker ending path without defeating the boss. The only "skip" available is via New Game+ modes that allow you to rematch Guayota immediately after rolling credits.
What charm is best for the Guayota fight on Master Clockmaker?
Lava Walker's Charm is the safest pick because lava pool scaling is what kills most Master Clockmaker attempts. Experienced players sometimes swap it out for the Ember Step Charm once they can consistently parry the Phase 2 boulder, since the extra mobility lets them reposition faster between Phase 3 gear rotations. Both options work, but beginners should stick with the lava resistance charm until their clear time drops under 8 minutes.
How long does a typical Guayota fight take?
What's the toughest Phase 3 gear rotation you've managed to clear, and which charm ended up carrying your run — drop your Guayota clear time in the comments so other runners can compare notes against the community benchmarks.