
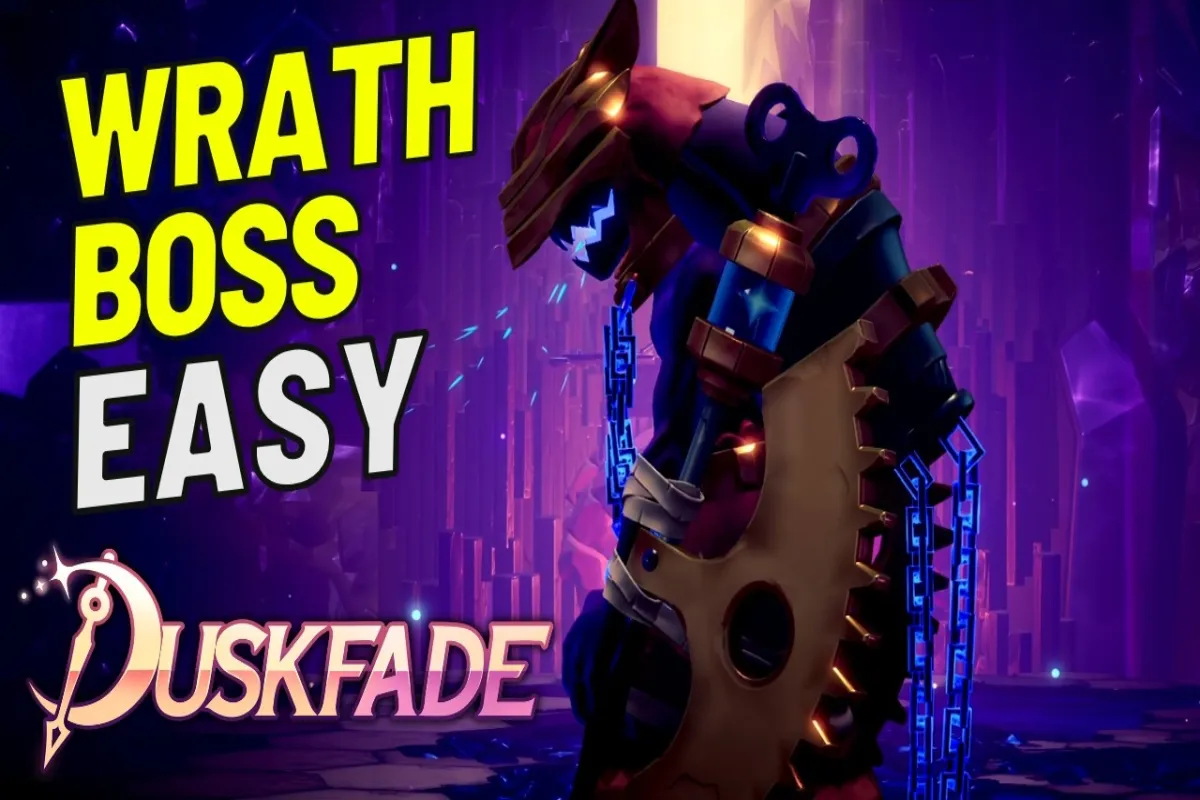
The Wrath sits dead-center in Duskfade's mid-game and is the first real skill check for many players, because the fight refuses to play by the simple dodge-then-punish loop the earlier bosses tolerate. This Duskfade Wrath boss phase guide breaks every phase, every tell, and every punish window so the encounter reads like a choreography problem instead of a wall.
What the Wrath Fight Actually Tests
The Wrath is one of the early "non-trivial" encounters in Duskfade, and the official Steam page frames the game as a 2.5D action RPG that blends Spanish and Guanche folklore with momentum-driven platforming. Combat favors weapons you can swap on the fly — hammer, sword-and-shield, twin blades, or gauntlets — and every loadout change resets your dodge cooldown, which is a mechanic the Wrath is specifically tuned to punish if you forget about it. The fight also pulls players out of flat ground and into a vertical chase mid-sequence, which makes plain "dodge and slash" thinking fail fast.
What makes the Wrath unusual compared to every earlier boss is the interlude. Two named health gates are bookended by a mandatory platforming section, and the move set changes between each phase in ways that punish anyone expecting copy-pasted patterns. If you want a wider context on how Duskfade structures its bosses in general, the Duskfade boss fight guide walks through the broader difficulty curve and reward scaling across the whole game.
Before you queue in, two loadout choices matter more than raw stats: a weapon with vertical reach (hammer or twin blades) and a willingness to commit to dashes instead of hoarding them. Most first-time wipes come from burning stamina early rather than from getting out-damaged, so treat the early phases as resource budget practice rather than DPS races.
Phase 1 — Reading the Warm-Up
The Wrath opens in a wide, flat arena lit by a single rotating spotlight. Telegraph windows are generous, but the damage numbers are not, so treat this as the tutorial phase it pretends not to be.
Opening Moves and Wind-Up
The Wrath always opens with a three-hit leaping combo. Each hit raises its body height, and the third swing plants a fire spike at your last grounded position, which is the move that catches players who roll backward out of habit. Roll backward on hit one and sidestep right on hit three to dodge all three cleanly, because the final swing's hitbox lingers long after the animation ends. Players who try to punish the third swing immediately eat the spike and lose the opening they thought they had earned.
| Phase 1 Attack | Telegraph | Safe Dodge Direction | Punish Window |
|---|---|---|---|
| 3-hit leaping combo | Hop back, arm wind-up, hop up | Roll back, sidestep right on hit 3 | 1.2s after spike lands |
| Shoulder charge | Low crouch, shoulder glints | Back-flip twice to clear the arc | 0.6s after the Wrath passes |
| Ground slam (1 spike) | One fist raised overhead | Neutral dash, hold direction | 0.9s before spike erupts |
| Whirlwind swipe | Spins in place 360° with sparks | Jump over the arc, land behind | 1.5s recovery |
Punish Windows and Stamina Pacing
Two health segments of the Wrath sit in Phase 1, so the design wants you to learn the cycle before things escalate. Stick to 2-second punish windows even when the recovery animation looks longer, because the Wrath has hidden super armor on its first wake-up after every knockdown. A panicked string of light attacks during that wake-up will get caught by a counter-grab that one-shots squishy builds.
Build rotations should reserve stamina for dodging rather than combo extensions. Light attack → light attack → dash-cancel → back-step is the most reliable opener because it stays inside the safe-dodge window if the Wrath suddenly switches patterns mid-recovery, which it does without warning once any one attack lands cleanly.
Phase 2 — The Aggression Spike
Once you knock the Wrath below 70% HP, the arena lighting drops, the spotlight cracks into two beams, and the move set rotates. This is where first-timers spend most of their practice attempts, because the patterns from Phase 1 do not transfer cleanly.
What Changes Between Phase 1 and Phase 2
Three Phase 1 moves disappear and three new ones slot in. The 3-hit leaping combo is replaced by a 5-hit chain that ends with an AOE shockwave. The shoulder charge now leaves a residual fire trail that lingers for almost a full second after the dash ends. The single ground slam becomes a four-spike radial burst that covers more than half the arena. Every previous punish window shrinks by roughly 30%, so an opener that felt safe in Phase 1 will now trade you if you do not adjust.
| Phase 2 New Move | Visual Cue | Counter | Stamina Cost to Avoid |
|---|---|---|---|
| 5-hit chain + shockwave | Step rhythm quickens, glow intensifies | Side-hop chain, vertical jump at hit 5 | High — 4 dodges minimum |
| Shoulder charge + fire trail | Trail color shifts red before charge | Late back-flip past the trail's tail | Medium |
| 4-spike radial burst | Both fists raised at once | Diagonal dash, then jump over outer spikes | Medium-High |
| Summon hazard pillars | Camera pulls back, pillars rise | Stay near the boss's flank and slash them | Low (iframes through pillar bodies) |
The biggest trap in Phase 2 is the shockwave — when the Wrath plants its final fist, every player on screen feels a reflex to jump straight up. That reflex is exactly what the arena punishes, because the shockwave's hitbox reaches further horizontally than vertically. A vertical jump at hit 5 sends you over it cleanly, while a horizontal dodge just barely scrapes the outer edge of the shockwave's radius.
Equipment Considerations for Phase 2
Twin blades and hammer both work well. Twin blades win the DPS race if you can chain four full rotations before the shockwave, but hammer's charged heavy attack pops the boss out of its wind-up animation, which lets you skip one or two mechanics entirely on aggressive runs. Gauntlet users will struggle here, because the move's recovery is too short to land a full palm-strike combo without trading damage back. If you need a clean entry into the broader Duskfade combat system before attempting this fight, the Duskfade beginner guide covers the weapon swap and dash-cancel fundamentals that this encounter assumes you already know.
The Platform Interlude — Surviving the Chase
At exactly 50% HP the Wrath breaks the arena floor and the encounter transitions into the famous platform-jumping section. Most first-time wipes happen here rather than in the two named phases, because the mechanics shift completely from melee rhythm to vertical escape routes.
Vertical Movement and Mid-Air Dodges
The Wrath burrows underground and re-emerges beneath your current platform, destroying tiles in a 3×3 pattern. You have roughly 1.8 seconds to double-jump to an adjacent platform before the AOE goes off, which is the move that punishes hesitation more than anything else in the fight. Air-dash adds an extra tile of distance and the i-frame on the dash itself makes it the safest escape option if you mistime the jump, which is why most players bind it to a comfortable shoulder button before the fight.
| Platform Hazard | Trigger | Reaction | Why Players Die |
|---|---|---|---|
| 3×3 ground eruption | Wrath burrows beneath your tile | Double-jump plus side-air-dash | Hesitation or late input |
| Spike wall sweep | Wrath vaults in from the left edge | Wall-jump on the right edge | Wrong wall chosen |
| Falling platform crumble | Yellow flash on a tile | Jump within 1 second of the flash | Forgetting mid-fight regen |
| Vertical fire pillar | Wrath re-emerges below | Up-special or feather-cancel | No vertical escape equipped |
How the Interlude Resets the Fight
Once the Wrath returns to a flat arena, all of its cooldowns reset. The 70% phase immediately resumes with a fresh opening swing, which is the reason a "burned everything on Phase 1" strategy fails — you will re-enter Phase 2 with empty stamina and no cooldowns. Plan your consumable usage so a medium heal flask lands roughly 3 seconds before the Wrath burrows, giving you breathing room at the worst possible moment rather than scrambling to top off HP mid-air.
Phase 3 — Breaking the Wrath
The third phase triggers below 30% HP and removes most of the arena's safe zones. Floor tiles begin to glow and then collapse on a rolling timer, shrinking the playable area every twenty seconds. The Wrath's aggression jumps another notch and it gains two new attacks tied directly to the shrinking floor.
Finishing Combos and Punish Windows
The right call here is to play aggressive. The Wrath's desperation moves have larger recovery windows than earlier phases because the floor-collapse timer forces it to commit to long animations. A patient build will lose to the shrinking arena faster than a patient build can possibly win, so the meta here favors charging in rather than waiting for openings.
| Phase 3 Attack | Floor Condition | Counter | DPS Window |
|---|---|---|---|
| Desperation spin (360° + fire column) | Any stable tile | Stay above the column, slash on landing | 2.5s |
| Quadruple pillar summons | Wide floor | Stack on the boss's flank, treat pillars as cover | 2.0s |
| Charge-burrow cycle | Any | Air-dash away, punish on re-entry | 1.5s |
| Grab-counter | Triggered if you hit during wind-up | Do not attack during the orange flash | N/A — instant KO |
Quadruple pillar summons is the move that will catch out a player who memorized Phase 2 timings without thinking ahead. Because it spawns four pillars and the Wrath itself stands in the gap, the safest counter is to stack on the boss's flank and use it as cover from the nearest two pillars while slashing the other two away. The pillars themselves are damageable, and breaking them refunds a small amount of stamina, which can be the difference between landing one extra combo in Phase 3 or eating a shockwave without an i-frame.
Rewards and What Comes Next
On the Wrath's final stagger the arena locks, the music peaks, and the Wrath performs a cinematic collapse. The post-fight screen unlocks the next major zone and grants the boss-specific crafting material — usually 4–6 shards, depending on whether you broke both pillar pillars in Phase 3. If you are chasing full completion, save your game immediately after the cutscene, because one of the post-fight dialogue branches unlocks a vendor upgrade that disappears if you reload from a checkpoint. For a broader breakdown of Wrath strategies that do not focus specifically on phases, the Duskfade Wrath boss strategy piece covers alternative weapon loadouts and consumable paths.
Wrath Boss Reference Sheet
| Stat / Mechanic | Value or Behavior |
|---|---|
| Total HP segments | 3 named phases + 1 platforming interlude |
| Recommended player level | 22–25 |
| Phase 1 safe-dodge window | 1.0–1.5s after each attack |
| Phase 2 added moves | 3 new patterns replace 3 Phase 1 patterns |
| Interlude duration | ~45 seconds of platforming |
| Phase 3 floor-shrink timer | 20s between collapses |
| Elemental weakness | None — pure physical damage |
| Resistance | 25% reduced damage during super-armor frames |
| Recommended heal window | 3s before the interlude trigger |
| Best-in-slot weapon | Hammer for control, twin blades for speed |
Frequently Asked Questions
How many phases does the Wrath boss have?
The Wrath fight has three named HP phases separated by a mandatory platform-jumping interlude that triggers at 50% HP. Each phase has a distinct move set, so you cannot muscle through it on the same rotation the whole way, and trying to do so usually wastes cooldowns at the worst possible time.
What level should I be for the Wrath boss in Duskfade?
Community testing puts the comfortable range around level 22–25 with fully upgraded weapons from the previous zone. Going in under-levelled is technically possible, but the Phase 3 floor-shrink timer will eat any extra healing windows you might have been counting on and turn the fight into a pure attrition loss.
Which weapon works best against the Wrath?
The hammer is the most forgiving choice because its charged heavy attack interrupts the Wrath's wind-up animations, effectively skipping one or two mechanics per phase. The twin blades are the best damage-race pick if you already know the patterns and want to push the phase 2 shockwave into a fast punish window.
What is the easiest way to deal with the platform interlude?
The platform section is entirely about vertical movement. Bind your air-dash to a comfortable button, save a feather-cancel consumable for the final pillar room, and treat every jump as if you only have one — the mid-fight regen is generous but not infinite, and double-jumping without a plan is the most common cause of interlude deaths.
Can I heal during the Wrath fight?
Yes — the clockwork pillars in the interlude section drop healing shards when shattered. You can also use consumable feather-cancels between phases, but healing is disabled during the Wrath's enrage burst (the last 15% of its health bar). Stack your heals before that threshold hits.