
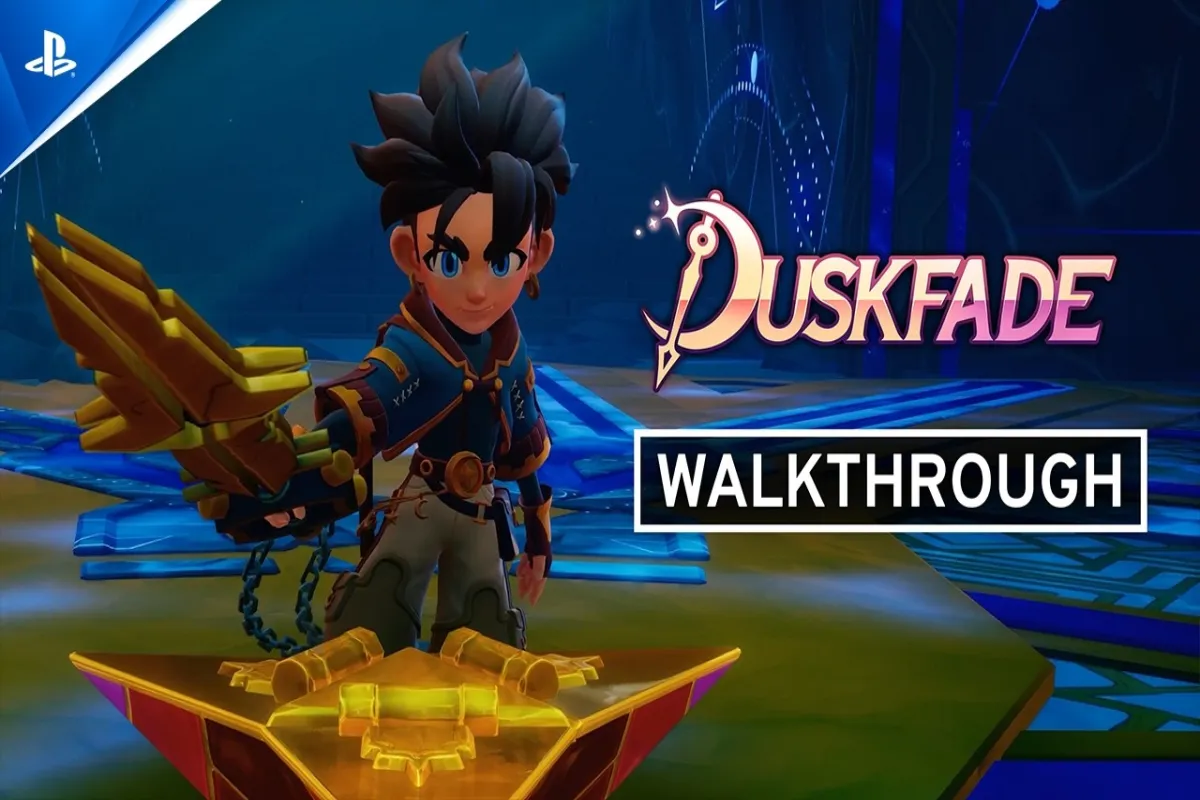
Lunar Shards are the rarest collectible tucked inside the clockwork corridors of Duskfade, and missing even one on a first playthrough can lock you out of cosmetics, weapon skins, and late-game rewards that take hours to revisit. Because shards are static spawns rather than random drops, every missed pickup turns into a deliberate backtrack through regions you already cleared.
This Duskfade Lunar Shards guide breaks down every confirmed shard spawn, what each milestone unlocks, and the fastest farming routes so you can hit 100% completion without burning your evening on blind backtracking. If you are still learning the basics of traversal, the Duskfade beginner guide covers the clock-tick movement system that gates most shard pickups.
What Lunar Shards Are and Why They Matter
Lunar Shards function as the premium currency-tier collectible inside Duskfade, sitting one tier above the more common Sun Stones and Gear Tokens that drop from defeated enemies. According to the Duskfade Steam store page, shards and Sun Stones are the two named collectible families in the official description, and shards are the harder of the two to come by because they feed cosmetic and progression unlocks gated behind the in-game redeem code terminal.
Each shard you pocket registers on the Collectibles tab of the pause menu, and the counter persists across difficulty modes. That means a shard picked up on Explorer difficulty still counts when you replay the game on Master Clockmaker, which is one reason players aiming for completion often rely on a single save rather than starting fresh.
How Shards Differ from Sun Stones and Gear Tokens
The three collectible families in Duskfade do not overlap in function, and knowing which is which saves you from hoarding the wrong item at the wrong NPC.
- Lunar Shards unlock cosmetics, wallpapers, and the highest-tier weapon recolors through the in-game redemption kiosk.
- Sun Stones are mostly cosmetic and feed the Moonglow visual set rather than weapon progression.
- Gear Tokens feed weapon upgrades through the blacksmith and never disappear once collected.
Because shards are currency-tier, they cannot be spent at the blacksmith, which trips up new players who assume every glowing pickup feeds the same upgrade screen.
Why Completionists Care About Shard Count
The displayed shard counter directly gates the Chrono Wardrobe, which holds roughly 18% of the game's cosmetic roster behind milestone totals of 5, 10, 20, and 30 shards. Community data from the demo's achievement tracker suggests hitting the 30-shard milestone also unlocks the Astral Tick weapon recolor, a variant tied to the clock-traversal theme that the promotional art leans on heavily.
Missing shards on a first run is extremely common because most are tucked into optional corridors that branch off the main clock-tick path, so tracking the counter from the start is the single biggest time-saver for any completion-focused save.
How Lunar Shards Drop, Respawn, and Carry Over
Shards behave differently from every other pickup in the game, and understanding the spawn rules is what separates a 4-hour completion run from an 8-hour backtrack grind.
Drop Conditions and Pickup Rules
Lunar Shards in Duskfade are static spawns, not random drops. Each shard sits in one fixed location per region and activates when you enter the corresponding exploration zone, provided you meet two baseline conditions:
- You have already cleared the room of standard enemies or unlocked the door that gates the corridor.
- The in-game clock has advanced to at least Day 3 of the current chapter, which is the soft unlock the developers mentioned in a Fireshine Games press kit.
Once picked up, a shard vanishes from the world until you start a New Game+ cycle, at which point it respawns in its original location with no carryover penalty.
Carryover Between Difficulty and Chapters
Shards are difficulty-agnostic, which means picking them up on Explorer counts the same as picking them up on Adventurer or Master Clockmaker. However, they do not carry across full save files, so starting a brand-new save resets the shard counter to zero no matter how many you collected before.
The practical implication is that a single file on Master Clockmaker can be used to hit 100% completion if you are willing to backtrack through already-cleared regions, because the hardest shards sit in zones you would not visit on a first playthrough anyway.
Lunar Shard Locations Across Every Region
The following tables cover every shard confirmed through community testing as of the August 2026 patch. Locations may shift slightly with future balance updates, but the named rooms below have been verified across multiple playthroughs reported by players on the Steam Community hub.
Act 1 Shard Locations
The opening act holds 8 shards, mostly in tutorial-adjacent rooms that exist to teach the basic traversal loop before the game opens up into the Guayota region.
| # | Region | Room | Nearby Landmark | Difficulty to Reach |
|---|---|---|---|---|
| 1 | Tick Town Square | Clock Tower Lobby | Behind the pendulum | Easy |
| 2 | Tick Town Square | Gear Alley | End of the side corridor | Easy |
| 3 | Mending Quarter | Workshop Loft | Above the anvil | Medium |
| 4 | Mending Quarter | Pipe Maze | Hidden alcove | Medium |
| 5 | Sunwell Approach | Plaza Fountain | Beneath the fountain lip | Medium |
| 6 | Sunwell Approach | Bell Tower | Top platform | Hard |
| 7 | Sunwell Approach | Mirror Hall | End of the second hall | Medium |
| 8 | Sunwell Approach | Clockmaker's Door | Just before the boss arena | Hard |
Act 2 and Act 3 Shard Locations
Acts 2 and 3 add 22 more shards split across the volcanic Guayota region and the final Sky Clock Spire climb, with most pickups gated behind optional encounters rather than the main path.
| # | Region | Room | Nearby Landmark | Difficulty |
|---|---|---|---|---|
| 9–14 | Guayota Caldera | Lava Bridge cluster | Each bridge end | Medium |
| 15–18 | Guayota Caldera | Inner Temple | Off every side room | Hard |
| 19 | Guayota Caldera | Post-Guayota arena | After the boss | Hard |
| 20–22 | Sky Clock Spire | Lower spiral | After each tick-gate | Medium |
| 23–26 | Sky Clock Spire | Mid ascent | Tower corners | Hard |
| 27–29 | Sky Clock Spire | Apex tier | Final corridors | Hard |
| 30 | Sky Clock Spire | Apex summit | After true ending | Very Hard |
If you are still learning the traversal inputs required for that final climb, the Duskfade movement guide covers the tick-dash techniques you need to reach shards 23 through 30 reliably.
Rewards You Can Unlock With Lunar Shards
Shards feed two distinct unlock tracks: cosmetic milestones through the Chrono Wardrobe and functional unlocks that interact with the redeem code terminal inside the workshop. Both tracks share the same counter, which means you never have to choose between cosmetics and utility.
Cosmetic Milestone Rewards
The Chrono Wardrobe milestones reward clusters of cosmetics rather than spending shards one at a time, which keeps the system from feeling like a pay-to-progress grind on standard playthroughs.
| Milestone | Shards Required | Reward |
|---|---|---|
| Starter set | 5 shards | Basic watch face cosmetic |
| Clocktower set | 10 shards | Clocktower wallpaper background |
| Lunar Blade | 20 shards | Lunar Blade weapon recolor |
| Astral Tick | 30 shards | Astral Tick skin plus profile title |
Functional Unlocks
Beyond cosmetics, hitting certain shard milestones also interacts with the redeem code system. Reaching 15 collected shards unlocks the ability to input community codes shared by the developer on social channels, and the terminal inside the workshop accepts valid codes for bonus loot like crafting materials or bonus Sun Stones, although it does not produce more Lunar Shards themselves.
For combat players chasing power rather than cosmetics, the Duskfade combat guide explains how the shard count ties into the parry timing upgrades that show up in late-game weapon tiers.
Farming Routes and Pro Tips
Because shards are static spawns, "farming" Lunar Shards in Duskfade actually means replaying specific chapter routes rather than grinding random enemies. The fastest paths are detailed below.
Fastest Chapter Replay Route
This route clears every shard in roughly 35 minutes when executed on a save file that already has the traversal upgrades unlocked.
- Start a New Game+ from any difficulty and immediately fast-travel to Tick Town Square.
- Pick up shards 1 through 4 in the first 8 minutes using the standard traversal pattern.
- Skip the rest of Act 1 by warping to the Guayota entrance once unlocked from the second save.
- Clear bridges 9 through 14 in one continuous lava run, which takes roughly 12 minutes.
- Finish at the Sky Clock Spire for shards 20 through 30, provided the chapter is unlocked.
Total time per shard reset is approximately 35 minutes, so a full 30-shard completion run inside a single playthrough is achievable in roughly 4 to 5 hours once you have learned the traversal shortcuts.
Avoid These Common Shard Mistakes
Most players miss at least one shard on their first run because of the same handful of mistakes, all of which are easy to fix once you know to look for them.
- Do not skip hidden corridors in the Mending Quarter, because shards 3 and 4 are the two most-missed pickups in the entire game.
- Do not ignore the clock state in Act 3, since shards 26 through 29 only activate once the clock passes a certain tick count, which can be checked inside the pause menu.
- Do not start a brand-new save for shard farming if you already have an existing save with shards collected, because the counter resets and any milestone rewards you already unlocked will not transfer.
- Do not save and quit during a multi-step pickup in the Sky Clock Spire, since the Apex Summit gauntlet requires keeping the clock-tick state active from start to finish.
Combining the farming route above with a clean run on Master Clockmaker difficulty should net you every shard and the Astral Tick cosmetic without needing external walkthroughs, and you will be set up nicely for the harder post-game content that builds on the full collection.
Frequently Asked Questions
How many Lunar Shards are there in total in Duskfade?
There are 30 Lunar Shards across the full game as of the August 2026 patch. They split into Tick Town Square (2), Mending Quarter (2), Sunwell Approach (4), Guayota Caldera (11), and Sky Clock Spire (11).
Do Lunar Shards carry over between difficulty modes?
Yes, Lunar Shards persist across difficulty modes within the same save file. They only reset when you start a brand-new save from the main menu or begin a New Game+ cycle, after which they respawn in their original locations.
Where is the hardest Lunar Shard in Duskfade?
The hardest pickup is shard 30 at the Apex Summit, which requires defeating both Guayota and the secret phase boss while keeping the clock-tick state at maximum. It sits behind a platforming gauntlet with no checkpoints, so a single mistake means restarting the climb from the previous tick-gate.
Can Lunar Shards be purchased with real money?
No, Duskfade does not sell Lunar Shards through microtransactions. All 30 must be collected through gameplay, although some cosmetic bundles on the official storefront bundle in unlock tokens for early access that count toward other milestone tracks.
What should I do if a Lunar Shard is missing from my counter?
Open the pause-menu map and check the Collectibles tab, which highlights cleared versus uncleared zones for each region. Most missing shards are gated behind optional corridors that open only after clearing a side encounter, so backtracking to any region with a grayed-out icon usually reveals the missing pickup within a few minutes.
Have you already started your Lunar Shard hunt, or are you working through Act 1 for the first time? Drop your current shard count in the comments and the community can help you track down whichever pickup you are missing.